This information is for educational purposes. Keyboard work involves small parts, soldering irons, and electronics — work in a ventilated space when soldering, unplug boards before opening them, and modding a board may void its warranty. When in doubt, check the manufacturer's documentation first.
A complete budget custom keyboard build costs about $130 all-in: roughly $70 for a hotswap barebones board, $30 for a 90-pack of switches, and $30 for a PBT keycap set. That’s a fully custom, genuinely good keyboard for less than most sealed gaming boards, and every part is one you chose. Here’s the exact parts list I’d buy, in order, with nothing padded in.
The whole trick to a budget build is spending where your fingers live and saving everywhere else. I’ve built boards from $40 stock survivors up to aluminum solder builds, and the cheap ones taught me the same lesson every time: a smart $130 build beats a careless $250 one. Below is that list, plus the upgrades worth saving for and the ones the hobby wants you to buy too early.
The Complete Budget Parts List
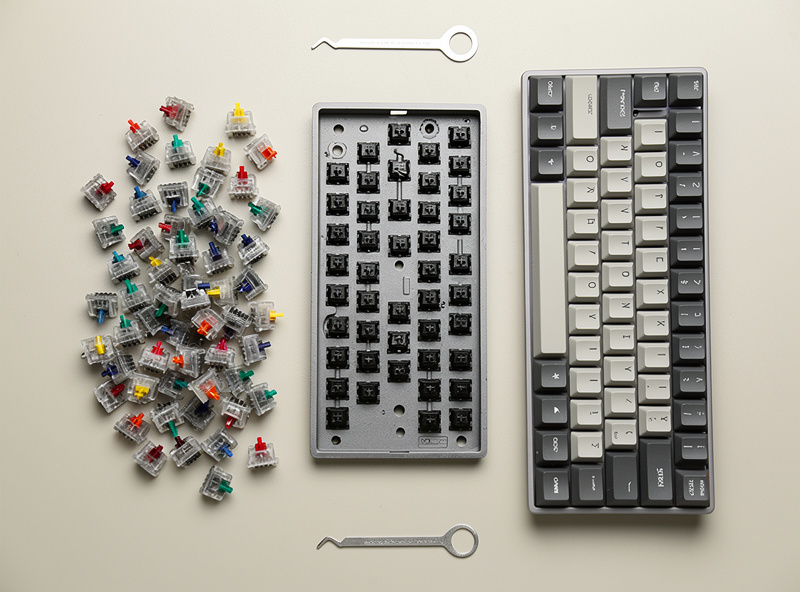
A budget build needs exactly four things you buy and one you might already have. The board, switches, and keycaps are non-negotiable; a switch puller usually ships with the board; and a switch tester is optional insurance. Total spend lands around $130, and you can shave it to $100 if you go for a barer board.
Here’s the list in plain terms. The hotswap barebones board is the foundation — buy hotswap so you never need an iron. A 90-pack of switches covers a full keyboard with spares, and one pack of a single switch is cheaper and more consistent than mixing. A PBT Cherry-profile keycap set gives you durable caps that won’t shine for years. If you’re unsure about switch feel, a switch tester for a few dollars lets you shop a feel before committing to the 90-pack. That’s the entire cart.
Where to Spend and Where to Save
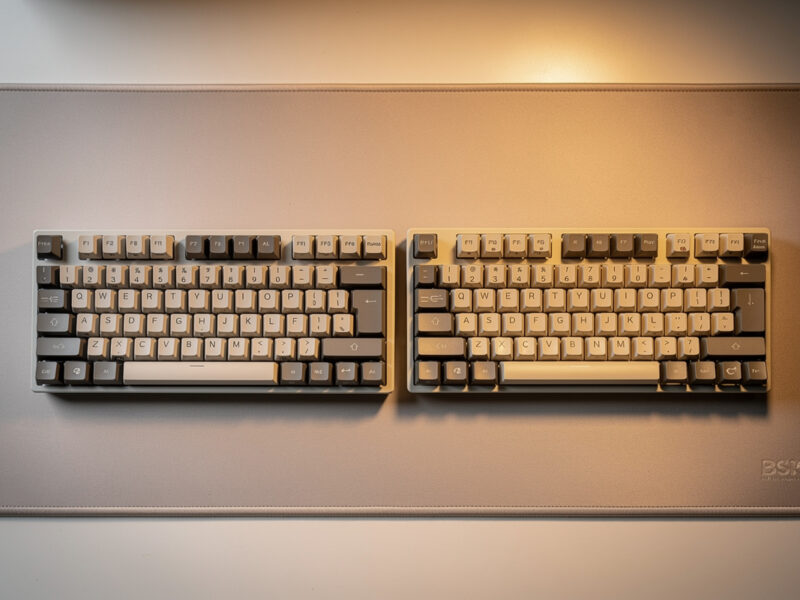
Spend your money on switches and save it on the case. Switches define how the board feels and sounds under your fingers for the eight hours a day you’ll use it, while a $70 board with sane internals feels nearly identical to a $150 one for a beginner. On a budget, the case is the easiest place to cut without regret.
This is the single most useful thing I can tell a first builder: on my bench, a $40 switch-and-stabilizer tune on a cheap board beats a $200 board swap for typing feel almost every time. The expensive case buys you weight, a fancier mount, and bragging rights — none of which your fingers notice the way they notice a switch you love. So skip the aluminum for now, put the savings into a switch you’re genuinely curious about, and keep a little back for a PBT set that won’t go glossy in a month.
If you want a concrete split: of a $130 budget, I’d put $70 in the board, $35 in switches, and $25 in caps — bumping the switch line above the keycap line on purpose, because a great switch on plain caps beats a great cap set on switches you don’t like. The one place I’d never cut to save five dollars is the keycap material; ABS caps that ship cheap go slick and shiny on the high-traffic keys within weeks, and re-buying caps costs more than buying PBT once. Cut the case, hold the switch budget, and keep the caps PBT.
What You Do NOT Need to Buy Yet
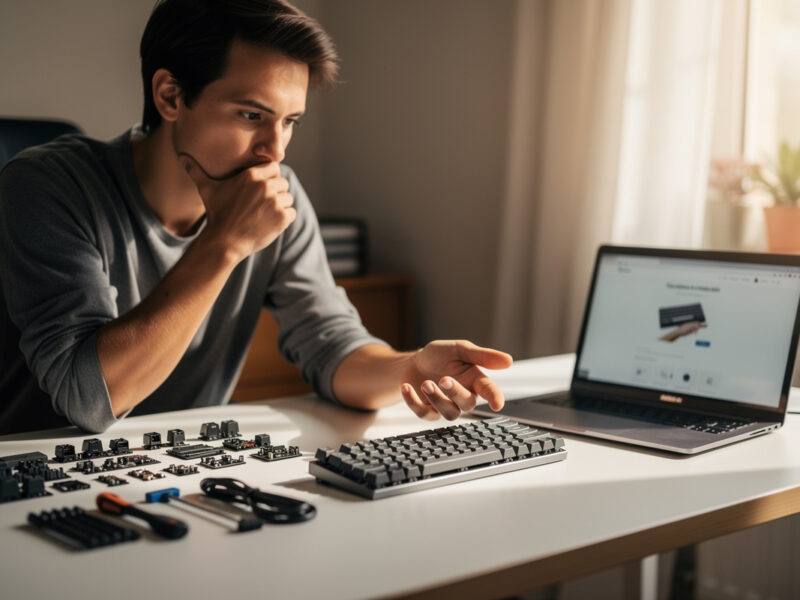
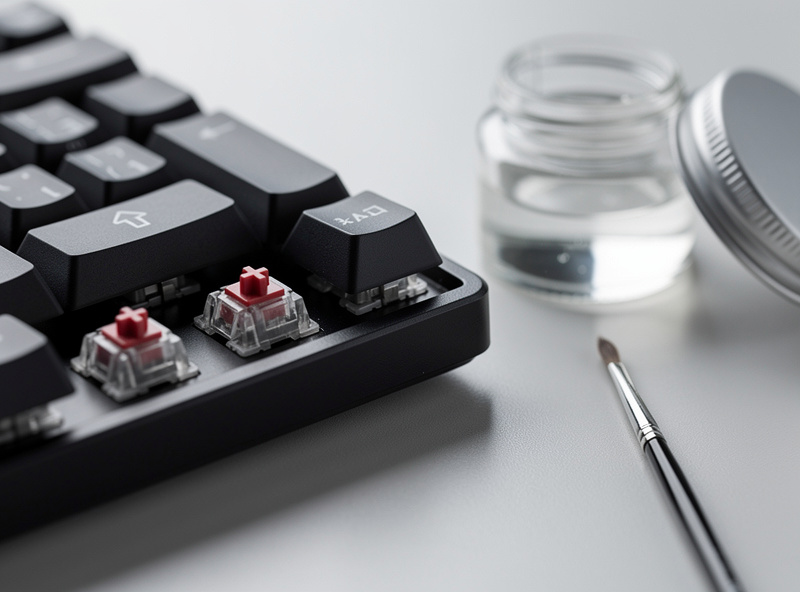
You do not need lube, films, a switch opener, foam mods, or a fancy deskmat for a first budget build. Every one of those improves a board, but they’re second-build money, and buying them up front is the classic beginner mistake — you’re tuning toward a feel you haven’t formed an opinion on yet.
I made exactly this error early on, buying a lube station and films before I’d typed on a single stock switch, and all it taught me was that I’d guessed wrong about what I’d like. Build the board with stock switches, type on it for a week, and let it tell you what’s bothering you. Maybe the stabilizers rattle and you’ll want to tune them; maybe a switch sounds scratchy and you’ll want to lube. Or maybe you’ll love it as-is and save the money. You can’t know until you’ve lived with the board, so don’t pre-buy the upgrades.
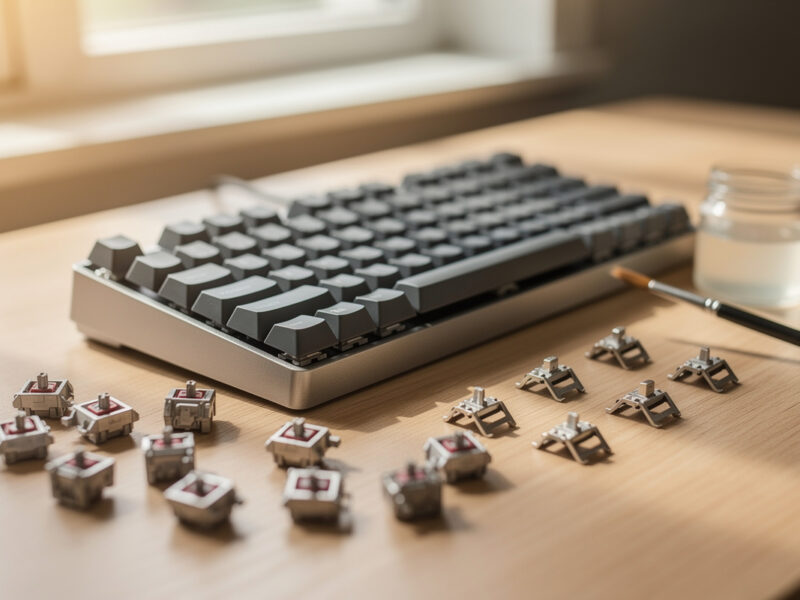
Building It: The 30-Minute Assembly
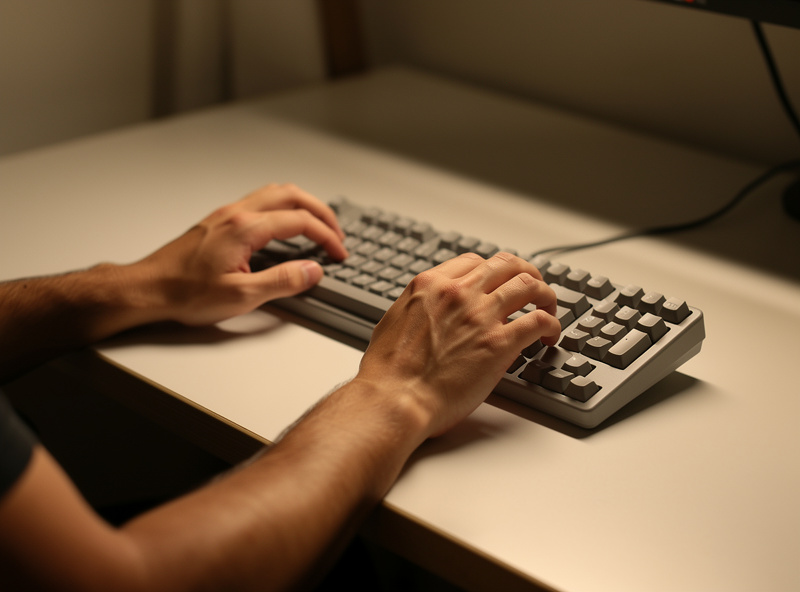
Assembly takes about 30 minutes and needs only the switch puller that came with the board. Seat each switch straight into its socket until it clicks flush, clip on the keycaps, plug in, and remap anything you want in VIA. There’s no soldering, so the worst that can go wrong is a bent switch pin you catch by looking before you push.
Work one section at a time and test as you go. After installing a row of switches, check them in any online key tester before you cap them — pulling a cap to fix a dead switch is more annoying than catching it now. A bent pin folds under instead of seating, so a quick glance at each switch’s pins before pressing saves you the one real headache of a hotswap build. Once everything registers, cap it, and you’ve got a working custom keyboard that cost less than dinner for four and is entirely yours.
The Upgrade Path After Your Budget Build
Once you’ve lived with the board, the highest-ROI first upgrade is almost always stabilizer tuning, not a new board. Tuning the stabilizers kills the rattle on the spacebar and big keys for a few dollars in lube and an hour of work, and it’s the single biggest feel improvement per dollar in the hobby.
After that, the path is preference-driven: lube your switches if they sound scratchy, add a tape or foam mod if you want to change the sound, or swap to a switch you discovered you like better. None of it requires replacing the board you built — that’s the beauty of starting hotswap and budget. You spent $130 to get a real keyboard and a real understanding of what you want, and every upgrade from here is informed by your own fingers instead of a YouTube thumbnail. That’s a far better position than dropping $300 on a guess.
Frequently Asked Questions
How much does a budget custom keyboard build cost?
About $130 all-in: roughly $70 for a hotswap barebones board, $30 for a 90-pack of switches, and $30 for a PBT keycap set. You can trim it to about $100 with a barer board, but $130 is the comfortable floor.
What parts do I need for a custom keyboard?
Four things: a hotswap barebones board, a switch 90-pack, a keycap set, and a switch puller (usually included). A switch tester is optional. That’s a complete keyboard with no soldering and no extra tools required.
Where should I spend the most on a budget build?
On the switches. They define how the board feels and sounds for the hours a day you use it. A $70 board with sane internals feels nearly identical to a $150 one to a beginner, so cut the case budget, not the switch budget.
Do I need to lube switches on a budget build?
No. Lube, films, and tuning tools are second-build money. Build with stock switches, type for a week, and let the board show you what to upgrade. Buying lube before you’ve typed on the board is the classic beginner mistake.
What is the first upgrade after a budget keyboard build?
Stabilizer tuning. It kills spacebar and big-key rattle for a few dollars in lube and about an hour of work, and it is the single biggest feel improvement per dollar in the hobby. Do it before considering a new board.
As an Amazon Associate I earn from qualifying purchases.