This information is for educational purposes. Keyboard work involves small parts, soldering irons, and electronics — work in a ventilated space when soldering, unplug boards before opening them, and modding a board may void its warranty. When in doubt, check the manufacturer's documentation first.
A stabilizer rattle fix is the first repair I teach anyone who’s just discovered their expensive new keyboard ticks like a cheap one. I’ve done this fix on every board in my drawer — the $75 hotswap daily, the self-soldered aluminum 65%, the budget 60% I keep stock as a reference — and recorded each one before and after on the same mic, same distance, same desk. This is the exact step-by-step I run, in the order that actually kills the rattle fastest.
If you want the wider context on mounting styles and the full tuning philosophy, the stabilizer tuning guide is the hub. This page is the hands-on walkthrough: how to take a rattling stabilizer and make it silent in one sitting.
First, figure out which rattle you have
There are three distinct noises hiding inside “rattle,” and reaching for the wrong fix wastes an hour. Pop the keycap off the offending key and test the bare stem with your finger:
- Tick on a fast press, silent on a slow one — that’s the metal wire end slapping the plastic stem channel. Fix: thick grease on the wire.
- Side-to-side wobble before bottom-out — that’s the stem rocking loose in an over-tolerance housing. Fix: lube the housing, and consider a tighter stabilizer if it’s severe.
- A ringing metallic tail after the press — that’s the long bare wire span resonating. Fix: more wire grease, and the Holee mod if it persists.
- Rattle only with the keycap on — that’s keycap fit, not the stabilizer. Fix: a different keycap, or a dab of grease on the keycap’s stabilizer mounts.
On my budget 60%, the spacebar had all three at once. Most boards have one dominant noise. Identify yours and you’ll know exactly which steps below you actually need.
What you need on the bench
Minimal kit, most of it shared with switch work:
- Thick dielectric grease for the wire (I use Krytox XHT-BDZ; plumber’s silicone grease also works).
- Krytox 205g0 for the housing — the same grade I lube linears with.
- A fine precision brush.
- A keycap puller and a switch puller (hotswap) or a screwdriver (screw-in stabs).
- A flush cutter only if you’re clipping stems.
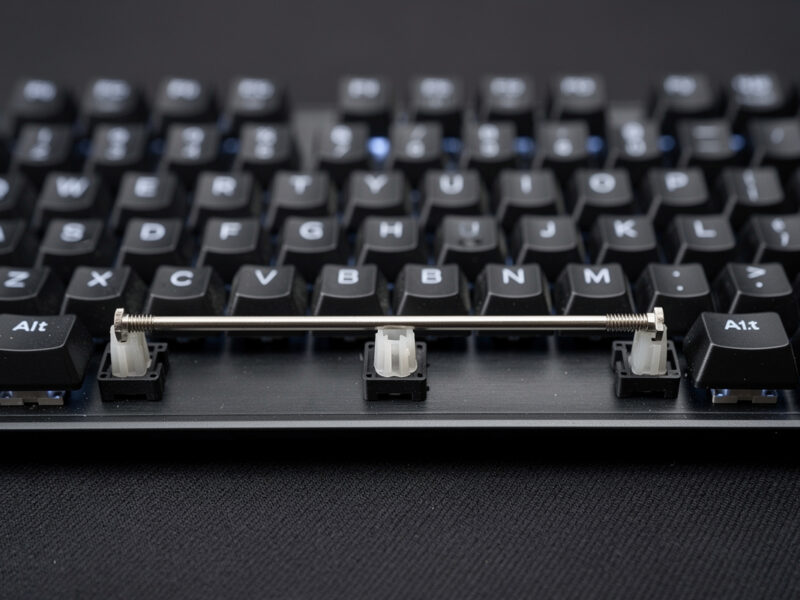
Step 1: Get the stabilizer out (or partly out)
On a plate-mount board you pull the keycap, pull the switch above the stabilizer, and unclip the stab from the plate — no PCB removal. On a screw-in or clip-in PCB-mount board you’ll need to remove the plate and PCB to reach the screws or clips. If a full teardown isn’t worth it, there’s a real partial method in the hub’s no-teardown section that captures most of the wire-tick win without pulling the PCB.
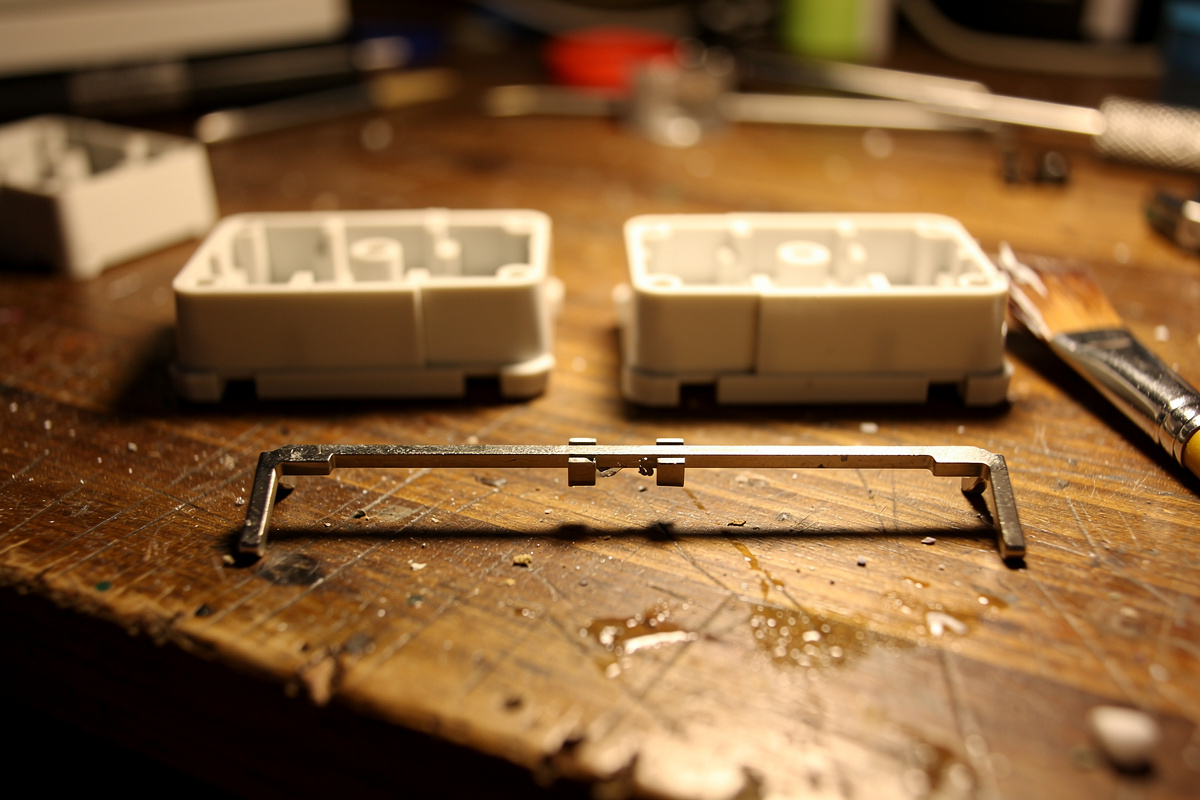
Step 2: Separate the wire and clean
Unhook the bent wire from both stem housings. Wipe any factory grease or grime off the wire with a dry cloth — factory “lube” is usually a thin, useless smear. You want a clean surface for fresh grease to adhere to.
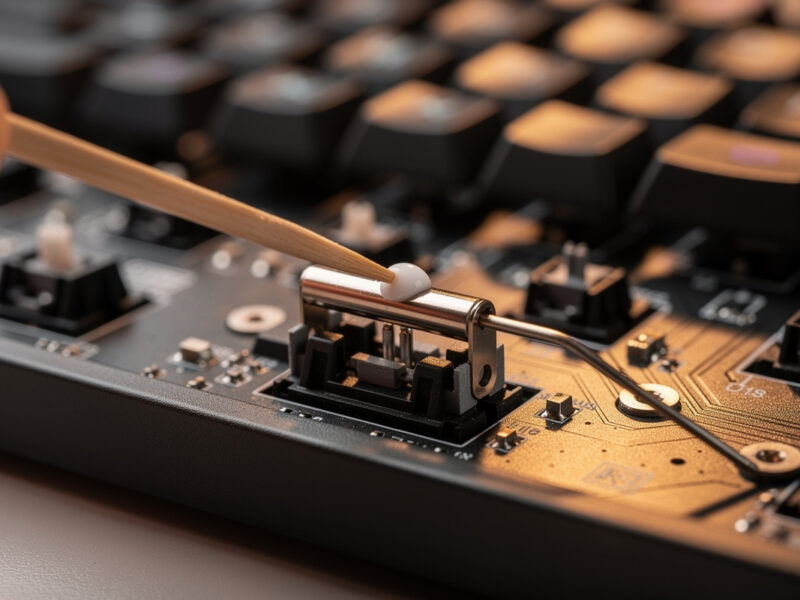
Step 3: Grease the wire ends — the step that matters most
This is the single highest-impact move in the whole fix. Pack a generous blob of thick dielectric grease into each stem’s wire channel and onto the bent ends of the wire that sit in those channels. The goal is for the metal to ride on a cushion of grease instead of clacking against bare plastic. On my recordings, this one step removes more rattle than every other step combined. Do not be shy with the grease here — thick grease on the wire is the one place “more” is correct.
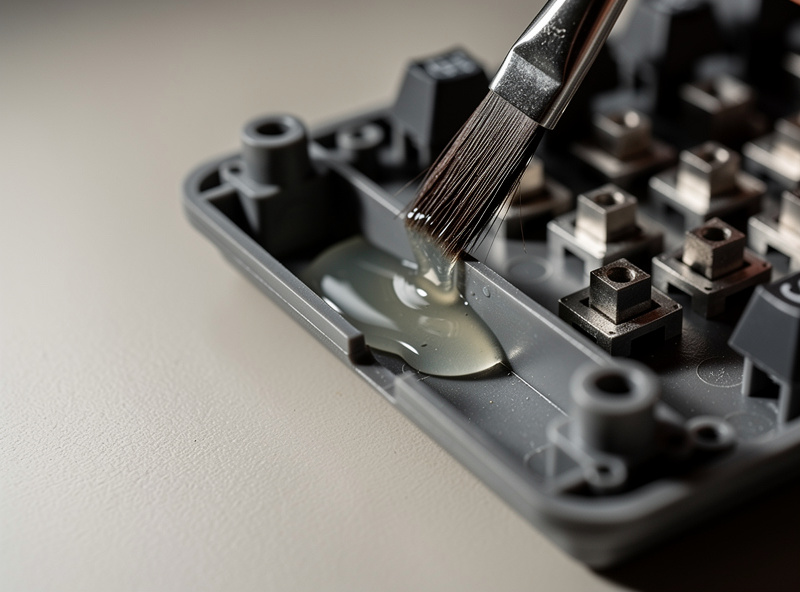
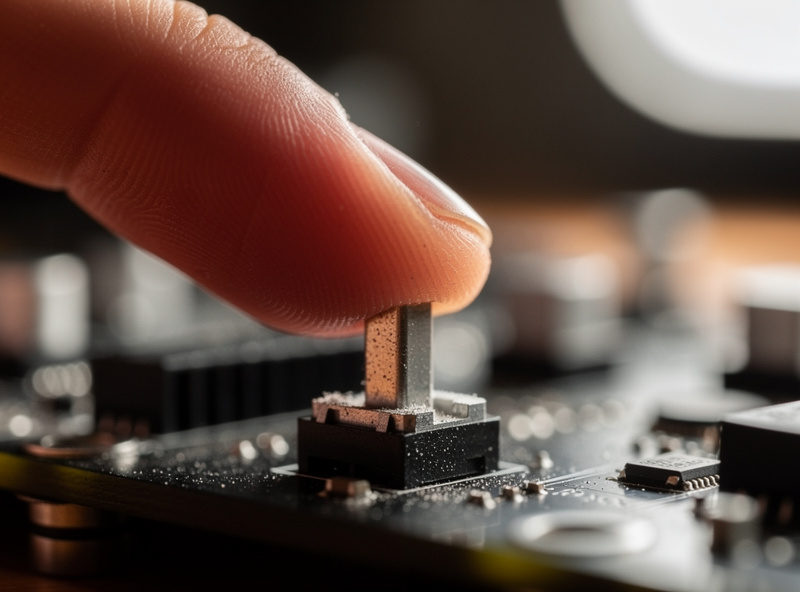
Step 4: Lube the housing
Brush a thin, even coat of 205g0 into the housing where the stem slides up and down, and a light film on the stem itself. This quiets the plastic-on-plastic friction and smooths the return. Thin film only — a puddle migrates onto the wire within a week and you’ll be back in here.
Step 5: Reassemble and test
Reseat the wire fully into both housings — both ends seated to the same depth, or the keycap will sit crooked and tick on every press. Clip or screw the stab back in, reinstall the switch and keycap, and test. A properly fixed stabilizer should sound like a slightly deeper version of the surrounding keys, with no metallic tick and no ring.
If it still rattles
Two usual suspects. First, the band-aid mod: if the stem feet are slapping the bare PCB, a small fabric-bandage cushion under each foot mutes the bottom-out — see whether the band-aid mod is worth it for your board. Second, the keycap: a loose spacebar that wobbles on the stems rattles no matter how perfect the stab is. Try a tighter keycap or a dab of grease on the keycap’s stab mounts.
Mistakes I’ve made so you don’t have to
- Grease and lube swapped. Thick dielectric on the wire; thin 205g0 in the housing. Swap them and you get a sluggish, ticky mess.
- Over-lubing the housing. Excess migrates and attracts dust. Thin film.
- Crooked wire. Uneven seating means one side of a wide key sits higher and ticks. Seat both ends fully.
- Clipping too early. It’s irreversible. Skip it until you’re confident.
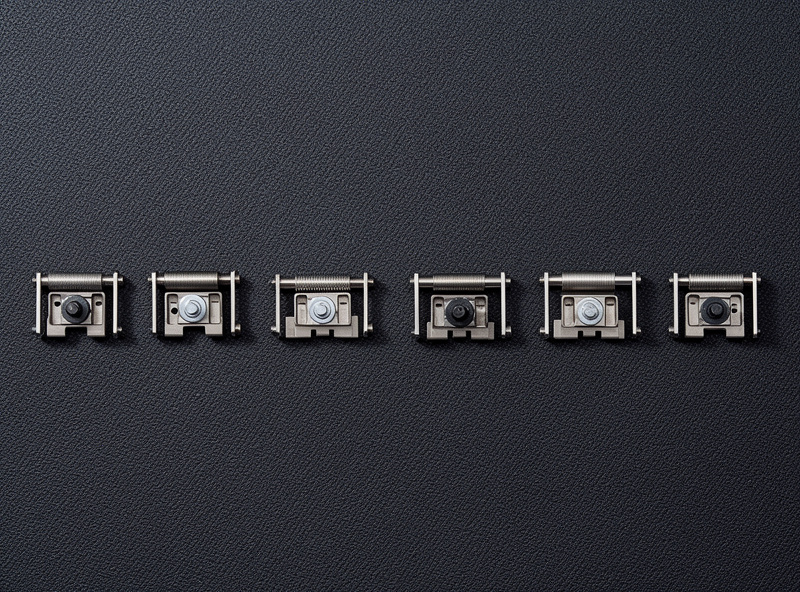
Do all the stabilizers at once
While you’re in there, don’t fix only the one loud key. A standard layout has four to six stabilized keys — spacebar, Enter, both Shifts, Backspace, and often the numpad zero and plus. They all shipped with the same dry wire, so they’re all on borrowed time even if only one is screaming yet. Greasing the whole set in one sitting takes maybe fifteen extra minutes and means you won’t be opening the board again next month when the Enter key starts ticking. It also makes the board sound coherent: a single freshly tuned spacebar next to five untouched stabs sounds mismatched, and your ear catches the odd one out. Batch them the same way I batch switches on the lube station — same grease, same technique, all in one pass.
How long the fix lasts
A properly greased wire stays quiet for a long time — I have boards still silent over a year on. If a tick returns, it’s almost always the wire grease that’s thinned or migrated. Pop the keycap, re-grease the wire end, done in five minutes. You won’t need to redo the whole sequence.
Frequently asked questions
What is the fastest stabilizer rattle fix?
Greasing the metal wire ends with a thick dielectric grease. It targets the loudest noise source, the bare wire ticking against the plastic stem channel, and on my recordings it removes more rattle than any other single step. If you only have ten minutes, do this.
Can I fix stabilizer rattle without taking the keyboard apart?
Partly. On plate-mount boards you only remove keycaps and switches, no PCB teardown. On screw-in boards there is a partial method where you swing the wire out of one housing, grease it, and reseat without a full strip. It captures most of the wire-tick win but cannot reach everything.
Why does my stabilizer still rattle after lubing?
Usually because you lubed the housing but did not grease the wire ends, which is the loudest source. The other common causes are a loose keycap wobbling on the stems and stem feet slapping a bare PCB, which the band-aid mod fixes.
What grease should I use on stabilizer wires?
A thick dielectric grease such as Krytox XHT-BDZ, or plumber-grade silicone grease. The wire needs heavy grease that stays put. Do not use thin switch oil like 205g0 on the wire; that goes in the housing instead.
Is stabilizer rattle a defect I should return the keyboard for?
No. Almost no keyboard ships with properly greased stabilizer wires because the grease is too thick to apply on an assembly line. A small amount of rattle out of the box is normal and expected, and tuning it is standard hobby behavior, not a warranty issue.