This information is for educational purposes. Keyboard work involves small parts, soldering irons, and electronics — work in a ventilated space when soldering, unplug boards before opening them, and modding a board may void its warranty. When in doubt, check the manufacturer's documentation first.
Lubing stabilizers without removing them is the move for a Tuesday night when a key has started ticking and you don’t have the patience — or, on a soldered board, the appetite — for a full teardown. I’ll be straight with you up front: it’s a compromise. It won’t reach everything a proper strip-and-grease reaches. But it captures the loudest noise source, wire tick, in about twenty minutes with the board still on your desk, and I’ve used it on every board in my drawer when the alternative was leaving the rattle alone. Here’s exactly how, and exactly what it can and can’t do.
If you’re willing to do the full job, the complete rattle fix is the better result, and the stabilizer tuning guide covers the whole philosophy. This page is for when full isn’t on the table.
First, confirm this is the right fix for your noise
Before you commit to even the quick version, spend thirty seconds confirming the partial method can actually solve your problem, because nothing is more frustrating than doing a fix that was never going to work. Pull the keycap and press the bare stem fast and hard with a finger. If you hear a sharp tick on the fast press that isn’t there on a slow press, that’s wire tick — exactly what this method targets, so proceed. If instead you feel the stem grinding or scratching through its whole travel, that’s housing friction, and the no-removal method will only partly help. And if the noise is a hollow slap at the very bottom of the press, that’s the stem foot hitting the PCB, which this method can’t reach at all. Match the fix to the fault first, and the twenty minutes you spend will actually land.
Why you’d skip the teardown
Three honest reasons. First, a soldered board: pulling the PCB means unmounting the plate from the case and is a genuine production, and if the stabs are screw-in you’d be doing it just for them. Second, time: a full strip, clean, grease, and reassemble of every stab is an hour-plus; the no-removal method is twenty minutes. Third, risk tolerance: every teardown is a chance to bend a pin, lose a screw, or reseat something wrong. If the board mostly sounds good and one key ticks, the partial fix is the proportionate response.
What you can and can’t reach
This is the part people skip, and it’s the whole point. With the stabilizer still mounted, you can reach:
- The wire ends — the loudest noise source. You can unhook the wire from one housing, swing it out, grease it, and reseat. This is most of the win.
- Partial housing access — you can get some lube onto the exposed part of the stem and into the top of the housing.
What you can’t properly reach:
- The full housing interior — the deep stem-slide surfaces stay partly out of reach, so you won’t fully kill housing friction.
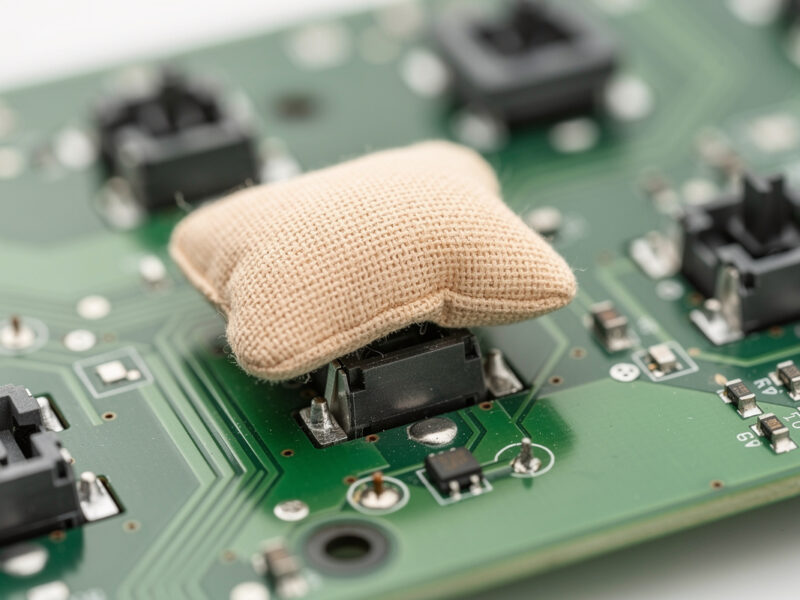
- The stem feet for clipping or the band-aid mod — those need the stab off (clipping) or the switch out (band-aid). The band-aid mod is a separate job.
Net: the no-removal method is a wire-tick fix with a bonus of partial housing lube. If your noise is wire tick — the fast-press tick — it’ll get you most of the way. If your noise is deep housing friction or bottom-out slap, you’ll need to commit to the teardown.
What you need
- Keycap puller (and switch puller if hotswap, to remove the switch above the stab for access).
- Thick dielectric grease for the wire.
- Krytox 205g0 for what housing surface you can reach.
- A fine brush or a thin applicator — a toothpick works for the wire grease.
The method, step by step
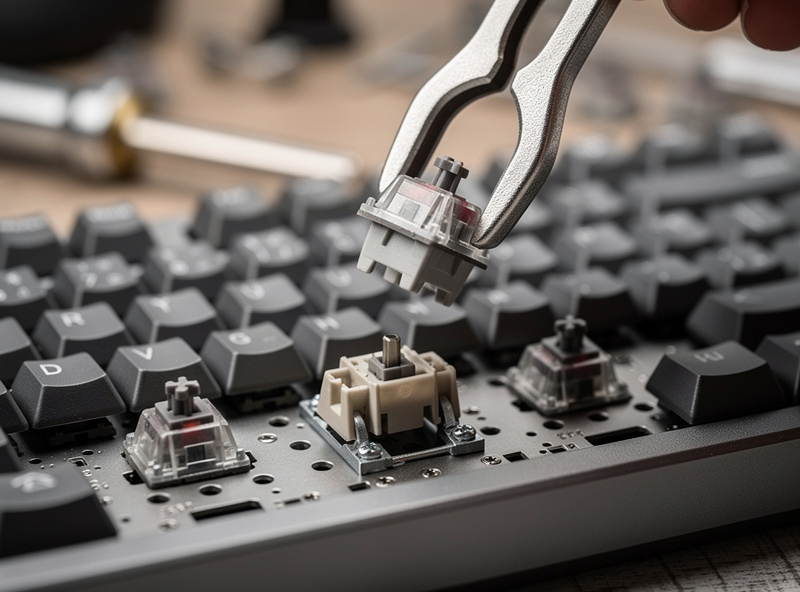
- Remove the keycap and the switch above the stabilizer. On a hotswap board pull the switch with a puller; on a soldered board you can usually still work around the switch, but access is tighter. This exposes the stabilizer stems and the top of the wire.
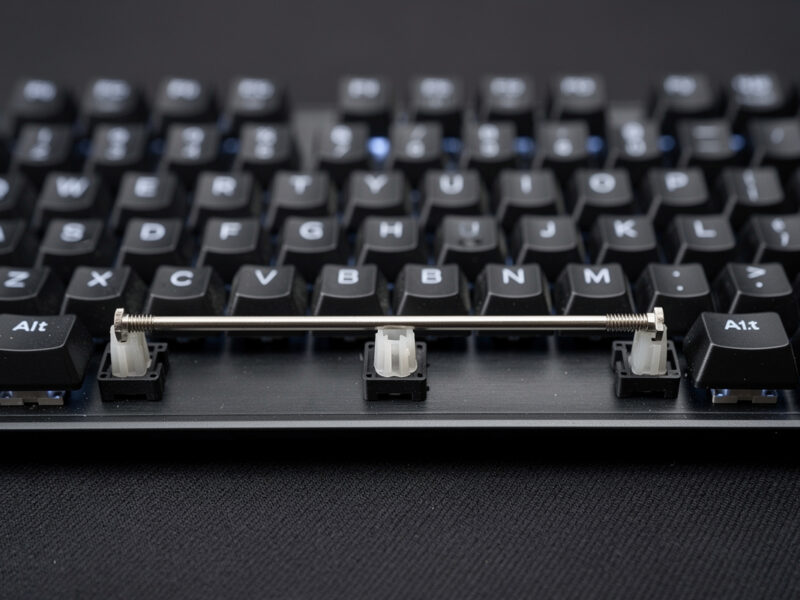
- Unhook the wire from one housing. The bent wire clips into both stems; gently free one end and swing the wire down and out to the side. You don’t need to detach both ends — one is enough to expose the wire end and the empty channel.
- Grease the freed wire end and its channel. Pack thick dielectric grease onto the bent end of the wire and into the now-empty stem channel. This is the high-value step.
- Reach what housing you can. With the wire swung out, brush a little 205g0 onto the exposed stem and the accessible part of the housing.
- Reseat the wire fully. Clip the freed end back into its housing, making sure it seats to the same depth as the other side so the key sits level.
- Repeat for the other side if you want both wire ends greased — you can do them one at a time without ever fully detaching the wire from the board.
- Reinstall switch and keycap, test.
The hotswap advantage nobody mentions
This method is dramatically better on a hotswap board than a soldered one, and it’s worth understanding why before you start. On a hotswap board, pulling the switch above each stabilizer takes two seconds with a puller and gives you clean overhead access to the stems and wire. You’re working in the open. On a soldered board, that switch is fixed in place, so you’re reaching around it into a tighter space, and the wire’s swing room is reduced. You can still do it — I have — but it’s fiddlier, the access to the housing is worse, and the case for just biting the bullet on a full teardown gets stronger. If you’re on a hotswap board, this technique is a genuinely great quick fix. If you’re soldered, weigh whether the partial result justifies the awkward access, because the gap between “partial fix” and “full fix” is wider when you can’t pull the switch.
How this compares to factory pre-lubed stabilizers
You’ll see stabilizers sold as “pre-lubed,” and people sometimes assume that means they can skip tuning. They can’t, and understanding why explains what the no-removal method is really doing. Factory pre-lube, when it exists at all, is almost always a thin smear in the housing — never the thick grease on the wire ends that actually kills tick, because that grease is too heavy and slow to apply on an assembly line. So a “pre-lubed” stab ticks just like a dry one until you grease the wire yourself. The no-removal method targets exactly the thing the factory never does: it gets thick grease onto the wire. In that sense it’s not a lesser version of tuning so much as a focused version that hits the one step that matters most, while accepting it can’t do the housing as thoroughly. That reframing helped me stop thinking of it as “cheating” and start thinking of it as “the 80/20 of stabilizer tuning.”
Doing it as routine maintenance
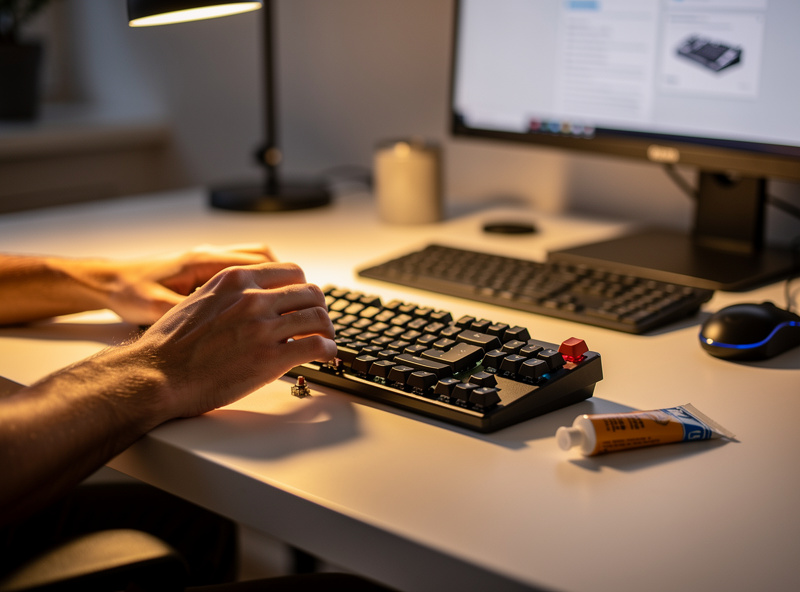
Here’s where the no-removal method really earns its keep: maintenance. A stabilizer you tuned properly a year ago will eventually start to tick again as the wire grease thins or migrates. You don’t need to redo the whole teardown to fix that — the no-removal grease refresh is exactly the right tool. Pop the cap, swing the wire, re-grease the end, reseat. Five minutes per key, board never leaves the desk. I do this on my daily driver roughly once a year, whenever the spacebar starts hinting at a tick, and it resets the tune without a production. Treat the full teardown as the install and the no-removal grease as the oil change, and your stabilizers stay quiet for the life of the board.
Managing expectations on the result
On my recordings, the no-removal method gets a ticking stabilizer most of the way to a fully-tuned one — it kills the tick, which is the loudest and most annoying component. What it leaves behind is a touch more housing friction and any bottom-out slap, because those need access you don’t have without a teardown. For a quick rescue of a noisy spacebar, that’s an excellent trade. For a build you want perfect, do the full job. I use this method as a stopgap and schedule the proper teardown for when I’m next inside the board anyway.
The mistakes that bite on the partial method
- Uneven reseating. Because you’re working blind-ish with the stab mounted, it’s easy to seat one wire end at a different depth. That makes the key cock to one side and tick on every press. Check the key sits level before you reinstall the cap.
- Too much grease. With limited access it’s tempting to glob it on. Don’t — excess migrates and you can’t easily clean it up without the teardown you were avoiding.
- Forcing the wire. If the wire won’t swing out easily, you’re fighting the clip. Free it gently; bending the wire is how you turn a quick fix into a replacement.
- Expecting it to fix slap. If the noise is bottom-out slap, this method won’t touch it. Diagnose first.
When to graduate to the full teardown
If you’ve done the no-removal grease and the stab is still noisy — persistent housing scratch, a slap you can’t reach, or the tick comes back fast — that’s your signal the partial method has hit its limit. At that point the full strip-and-grease is worth the hour. But for the common case of a single ticking key on a board you’d rather not open, lubing without removing is a real, legitimate fix — not a hack, just a proportionate one.