This information is for educational purposes. Keyboard work involves small parts, soldering irons, and electronics — work in a ventilated space when soldering, unplug boards before opening them, and modding a board may void its warranty. When in doubt, check the manufacturer's documentation first.
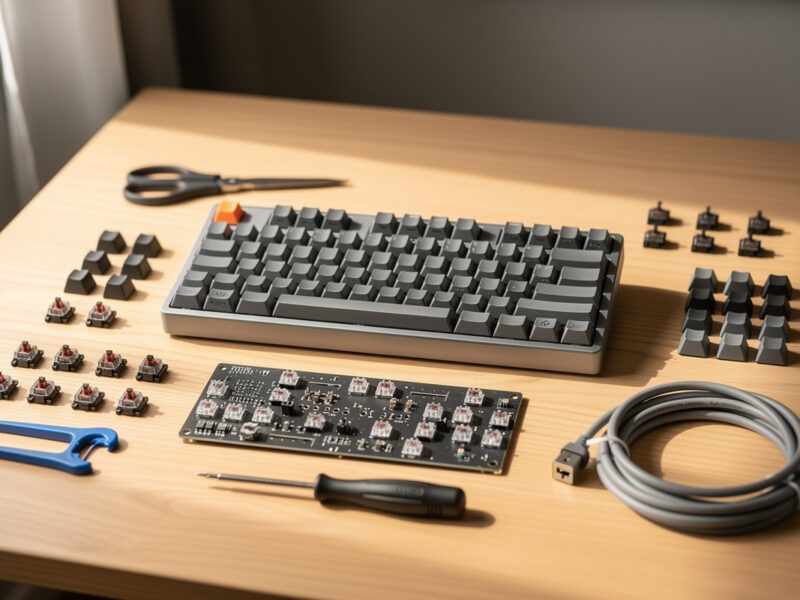
Custom keyboards feel better mainly because of three things you can actually change: the switches, the stabilizers, and the way the board is mounted and dampened. It is not magic and it is not the price tag — a tuned $130 build can feel better than a stock $250 board. The “feel” is the sum of specific, fixable details, and once you know them you stop chasing the hype.
I judge boards by ear on a controlled sound rig and by feel across a drawer of switches in both stock and tuned versions, so I’ll give you the honest breakdown rather than the marketing one. Some of what people credit for “the feel” is real and worth your money; some of it is recording tricks and placebo. Here’s how to tell them apart.
Why Do Custom Keyboards Feel Better Than Regular Ones?
They feel better because every part that affects feel is chosen and tunable instead of fixed. Switches set the smoothness and weight, stabilizers determine whether big keys rattle, and the mounting style and internal foam shape the sound and the give of each press. A regular keyboard locks all of that; a custom lets you dial each one in.
The honest version is that “feel” isn’t one thing — it’s a stack of separate, controllable variables, and a stock office keyboard simply got default values for all of them. Custom boards feel better because you (or a good maker) replaced those defaults with deliberate choices: a smooth switch instead of a scratchy one, tuned stabs instead of rattly ones, a softer mount instead of a hard tray. None of it is mysterious. It’s just that nobody bothered to optimize the $20 keyboard, and on a custom, someone did.
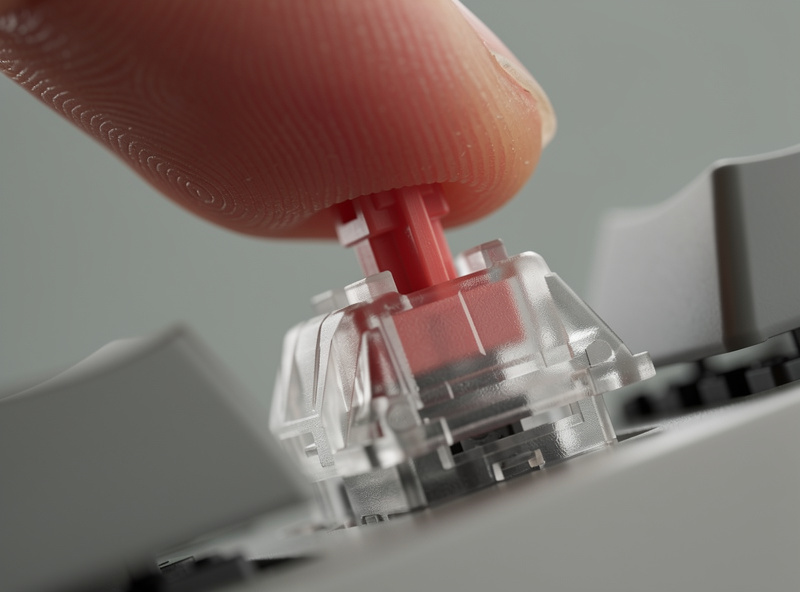
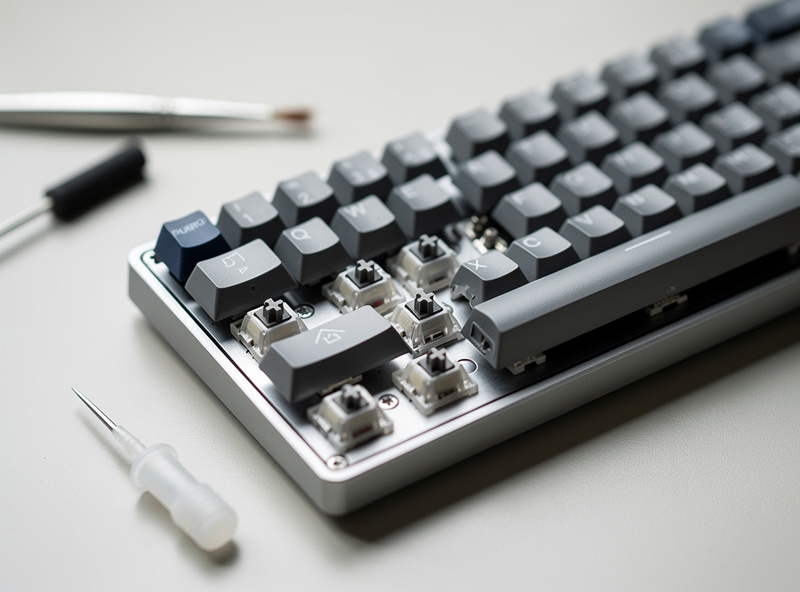
The Switches: The Single Biggest Factor
Switches are the largest contributor to how a board feels, full stop. A smooth, consistent switch feels worlds apart from the scratchy, wobbly switches in a typical office board, and on a custom you pick the exact weight and type — linear, tactile, or clicky — that suits your hands. This one choice accounts for most of the “custom feel.”
What people often miss is that switch feel is improvable beyond just choosing well. The same switch, treated with a bit of switch lube and a set of switch films, feels noticeably smoother and sounds deeper than its stock version — and because my drawers hold both versions of everything, I can say that delta is real, not imagined. Stem wobble shrinks with films, scratch disappears with lube, and the spring’s character changes the bottom-out. A stock office keyboard gives you none of those levers. A custom hands you all of them, which is why the same person can make two boards with identical switches feel completely different.
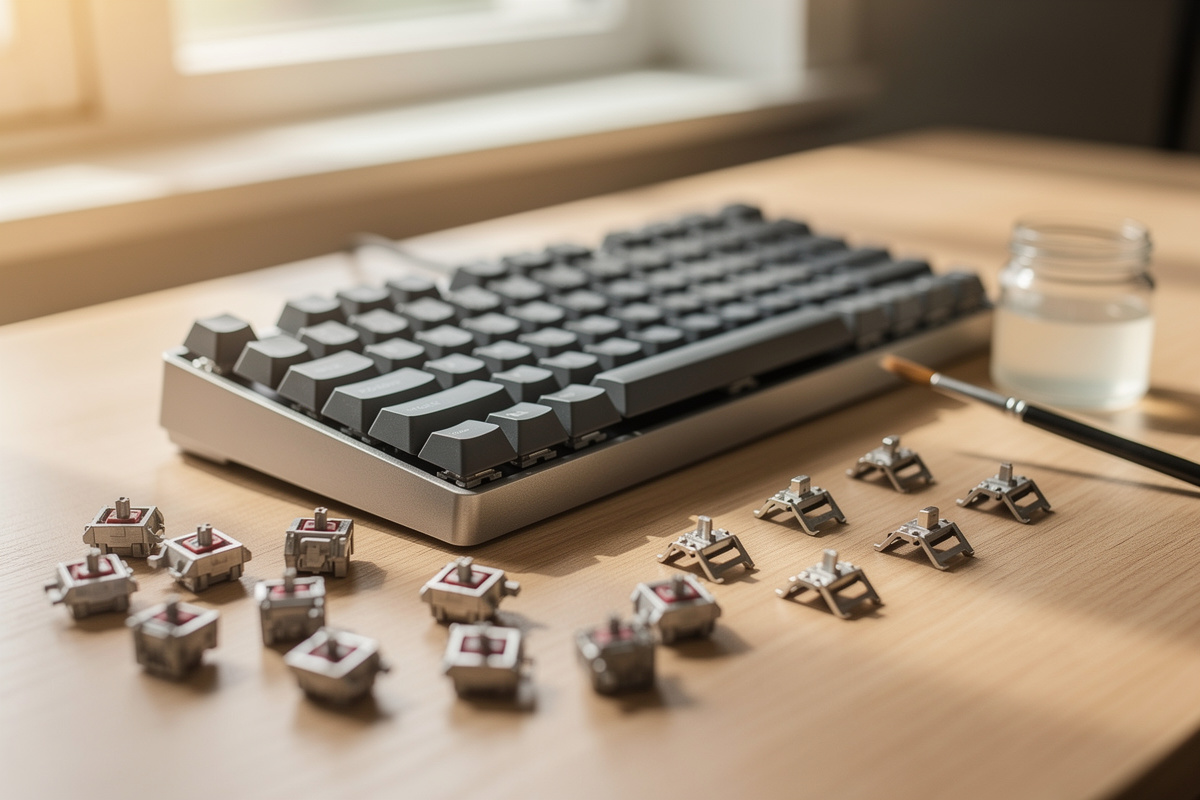
The Stabilizers: The Detail That Makes or Breaks It
Stabilizers are the highest-ROI feel upgrade in the entire hobby. They sit under the big keys — spacebar, enter, shift, backspace — and when they rattle, the whole board feels and sounds cheap no matter how good the switches are. Tuned stabilizers are often the single difference between “feels custom” and “feels like a toy.”
This is the detail beginners underrate and experts obsess over. I’ve done the band-aid mod at 1 a.m. and re-opened a board twice to get a spacebar right, because a rattly spacebar undoes everything else you tuned. The good news for a first builder is that this is fixable for a few dollars in lube and an hour of patience — you can even lube the stabs without fully removing them — you don’t need a new board, you need to tune the stabs you already have. People constantly blame “the board” for a rattle that’s entirely the stabilizers, and fixing them is the cheapest, most dramatic feel upgrade you can make.
Mounting and Foam: Real Effect, Often Overstated
Mounting style and internal foam genuinely change feel and sound, but their effect is smaller than the internet implies and easy to overspend on. A gasket mount gives a softer, more cushioned typing experience than a hard tray mount, and foam reduces hollowness and ping — both real, both noticeable, neither magic.
Here’s where I push back on the hype: a beginner does not need a gasket-mounted aluminum board to get a great-feeling keyboard. The switch and stabilizer choices above do most of the heavy lifting, and a simple tape mod or a bit of PE foam in a budget board captures a large share of what the expensive mount offers. Mounting style matters more as you climb the hobby and start splitting hairs; for a first board, it’s the variable to spend on last. The boards that feel magical in videos got there mostly through tuning you can replicate cheaply, not through a case you can’t afford.
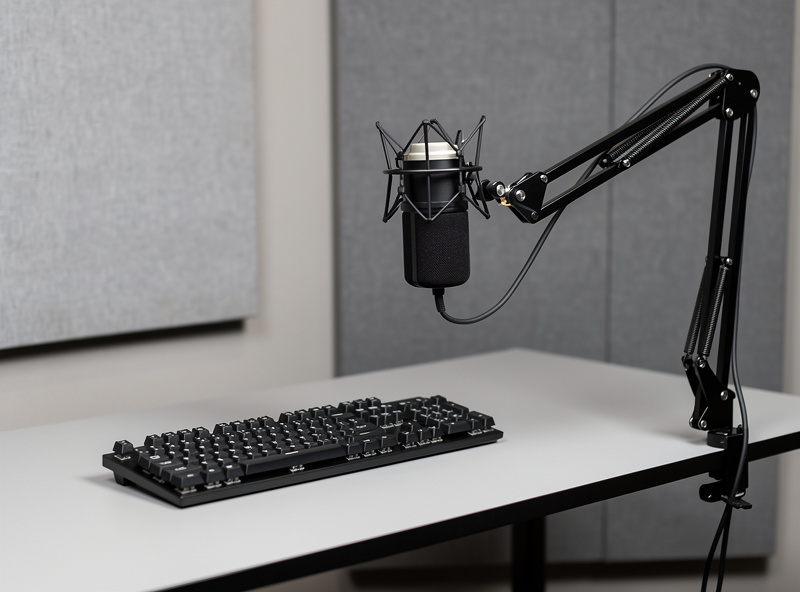
What’s Real and What’s Recording Tricks?
Much of the “thock” you hear in keyboard videos is the recording, not the board. A particular mic, placed close, in a treated room, will make almost any board sound deep and satisfying — which is exactly why I record every sound comparison the same way, same mic, same distance, same desk. Without that control, sound tests have lied to more buyers than any spec sheet.
So when you watch a board sound incredible online and wonder why yours doesn’t match, the answer is usually the microphone, not your build. Real feel improvements — smooth switches, tuned stabs, a sensible mount — are things your fingers verify in person. The deep cinematic “thock” is partly an artifact of how the clip was captured. Trust your own hands and a board you’ve typed on over any recording, and you’ll spend your money on the changes that actually feel different rather than the ones that only sound different through someone else’s mic.
So What Should a First Builder Take From This?
Spend on switches first, tune your stabilizers second, and treat mounting and fancy cases as the last variable, not the first. That order captures roughly 90% of “the custom feel” for a fraction of what a premium board costs, and it’s exactly how I’d build a great-feeling board on a budget today.
The takeaway that took me longest to internalize: the feel you’re chasing isn’t bought, it’s tuned. A modest hotswap board with a switch you love and stabilizers you fixed will out-feel a pricey board you left stock — every time, on my bench. So don’t read “customs feel better” as “I need to spend more.” Read it as “I get to control the parts that matter.” That control, not the price, is the whole reason a custom feels the way it does.
Frequently Asked Questions
Why do custom keyboards feel better than regular ones?
Because the switches, stabilizers, and mounting are all chosen and tunable instead of fixed. A regular keyboard ships with default values for everything; a custom lets you replace each one with a deliberate, better choice. The feel is the sum of those details.
What makes the biggest difference in keyboard feel?
The switches. They set smoothness and weight and account for most of the custom feel. Lubing and filming the same switch improves it further, which is why two boards with identical switches can feel completely different.
Do stabilizers really affect how a keyboard feels?
Hugely. Rattly stabilizers make the whole board feel cheap no matter how good the switches are. Tuning them is the highest-ROI feel upgrade in the hobby, fixable for a few dollars in lube and about an hour of work.
Is the thock sound in keyboard videos real?
Partly. Much of it is the recording, a close mic in a treated room makes almost any board sound deep. Real feel improvements are verified by your fingers in person; the cinematic thock is partly an artifact of how the clip was captured.
Do I need an expensive board for good feel?
No. A tuned $130 build can feel better than a stock $250 board. Spend on switches first and tune the stabilizers, and you capture roughly 90% of the custom feel for a fraction of a premium board’s price.
Does mounting style change how a keyboard feels?
Yes, but less than the internet implies. A gasket mount feels softer than a hard tray mount, and foam reduces hollowness. Both are real but smaller than switches and stabs, so they are the variable to spend on last.
Can I make a cheap keyboard feel custom?
Yes. Pick a switch you like, tune the stabilizers, and add a simple tape or PE foam mod. That captures most of the custom feel on a budget board without replacing it, which is exactly how to build a great-feeling first keyboard cheaply.
As an Amazon Associate I earn from qualifying purchases.