This information is for educational purposes. Keyboard work involves small parts, soldering irons, and electronics — work in a ventilated space when soldering, unplug boards before opening them, and modding a board may void its warranty. When in doubt, check the manufacturer's documentation first.
The difference between enjoying a lubing session and abandoning a half-done board isn’t skill — it’s workflow. Lubing one switch is a craft project; lubing ninety is an assembly line, and the people who burn out partway through are almost always the ones doing it switch-by-switch instead of stage-by-stage. My station has processed thousands of switches, and the setup is deliberately boring: the same tools in the same places, parts moving through stages, never improvising. This is that station and that workflow, laid out so your first big batch doesn’t become your last.
I’ll be honest about the time, too. A full board is an evening, not thirty minutes. But a good station turns that evening from tedious into something close to meditative — and it’s the only way I’d ever do ninety switches without losing my mind.
The station: what’s actually on the desk
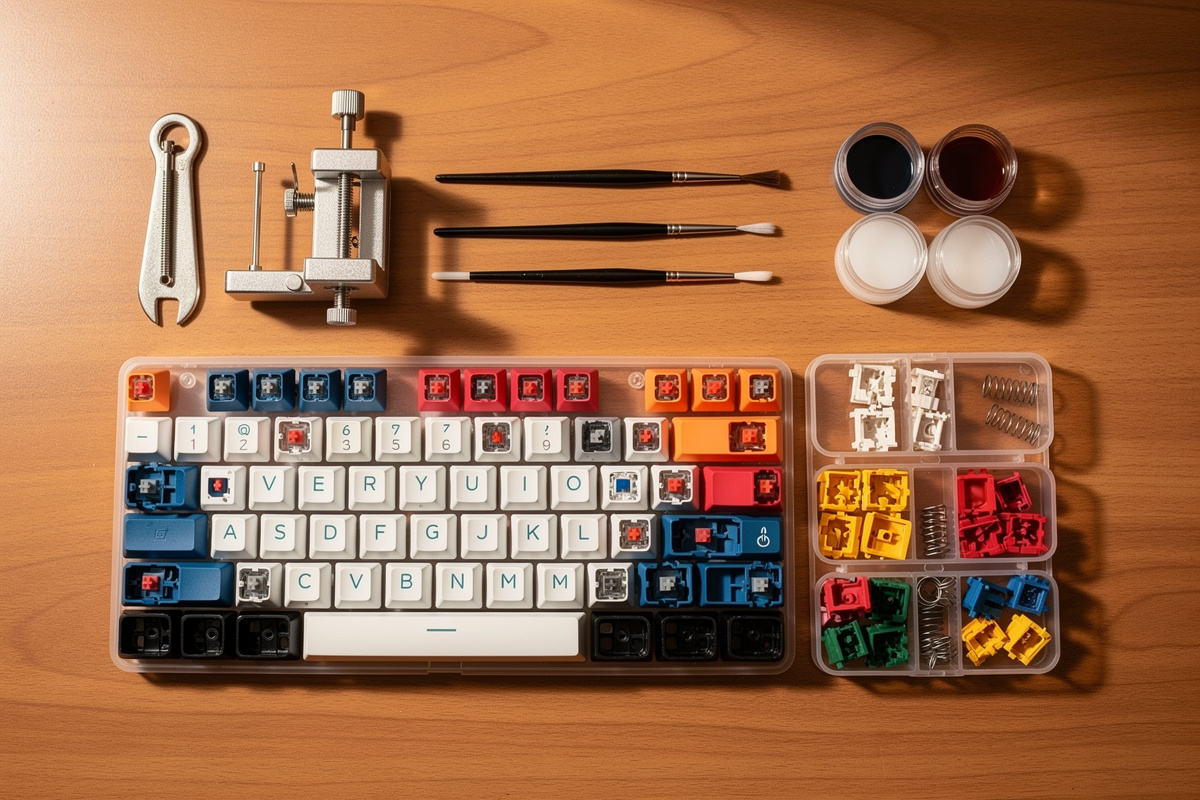
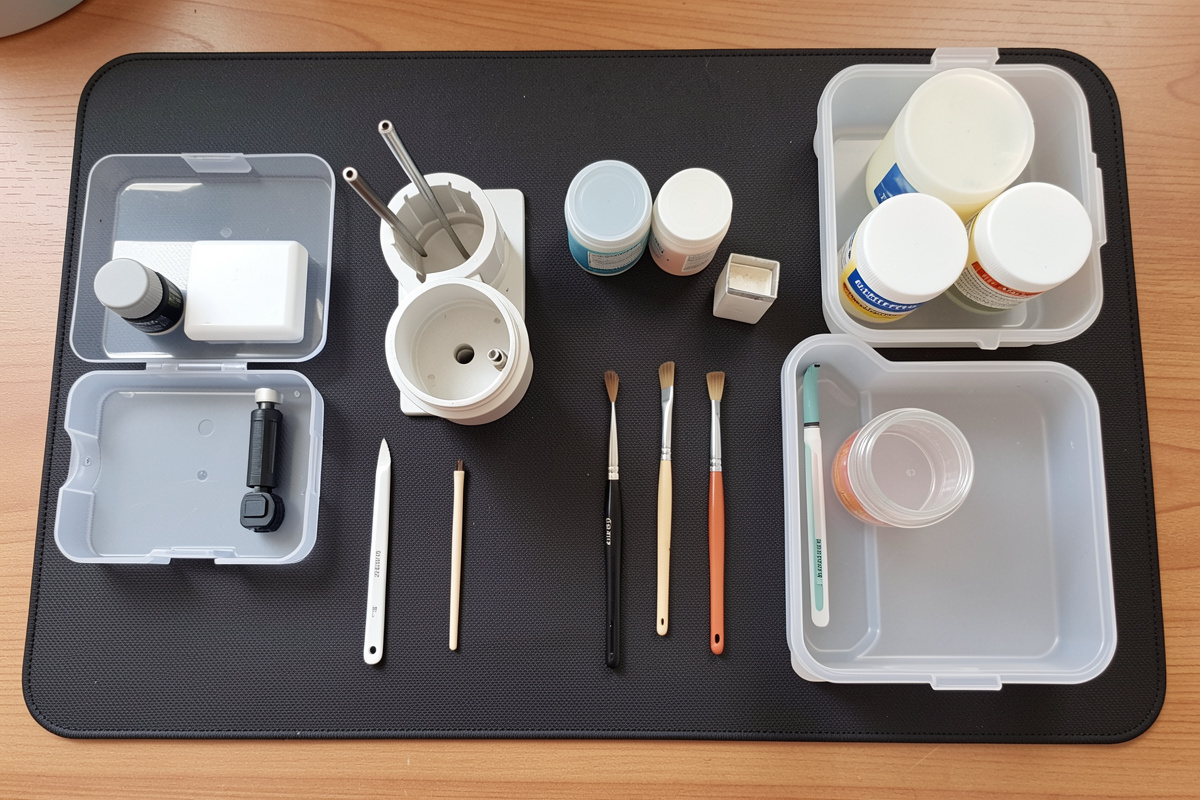
The kit is small. Resist the urge to over-buy; almost everything that matters here is cheap and simple.
- Switch opener. A two-sided plastic opener that matches your switch mounts pops the housing in one press. The single biggest time-saver versus prying switches with a flathead.
- Stem holder. Holds the stem upright so you can brush both rails without pinching a tiny part between your fingers. This one tool fixes the most common beginner mess — lube ending up everywhere but the rails.
- Two brushes. A small fine brush for grease, a separate one for thin oil. Keep them separate so you never cross-contaminate viscosities mid-session.
- The lubes. Your linear grease, your tactile lube, a thin spring oil. Lids off and within reach before you start.
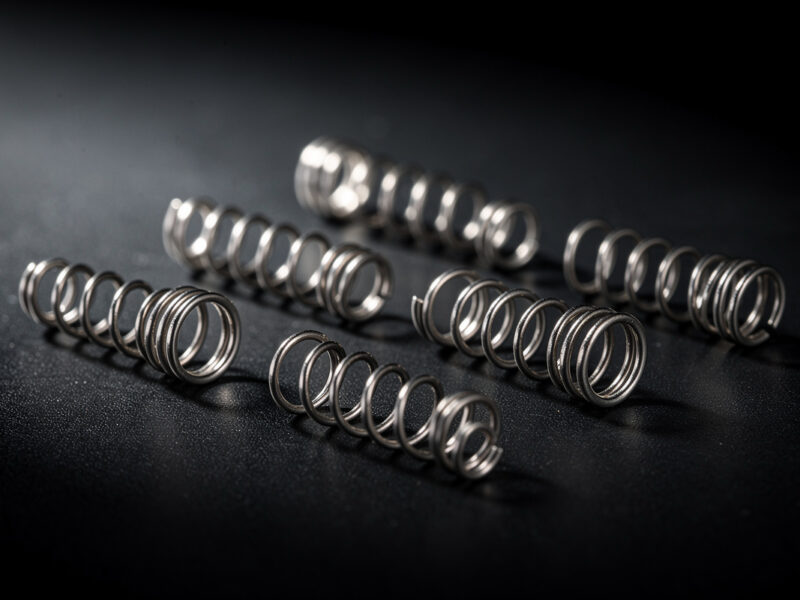
- A small zip bag. For bag-lubing springs — a whole board’s worth in one shake.
- Trays or a sectioned organizer. The secret weapon. Parts move through trays by stage so you always know what’s done.
- A desk mat. Catches dropped springs and stems before they roll into the carpet, the great switch graveyard.
The workflow that actually saves time: batch by stage
Here’s the single most important idea in this entire guide. Do all of one step before moving to the next. Don’t complete one switch start-to-finish and repeat ninety times — that’s the slow, error-prone way that makes people quit. Instead, run the board through stages:
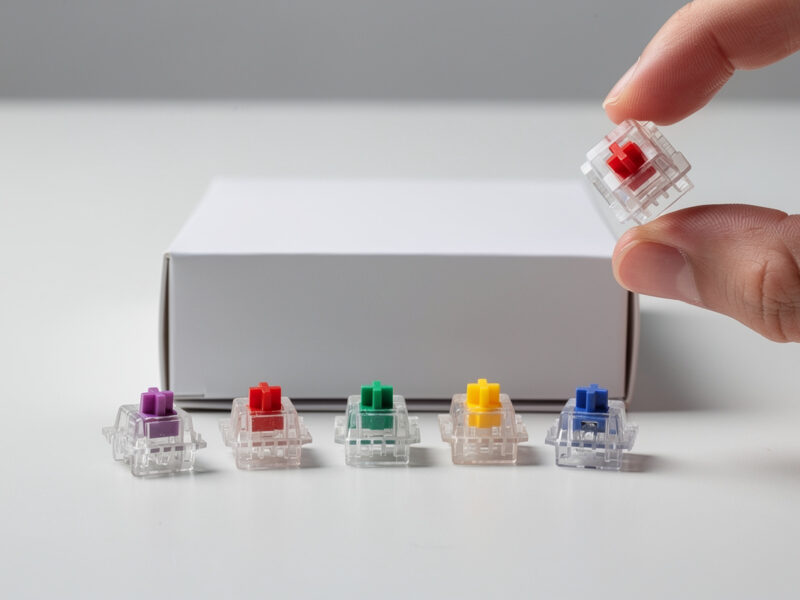
- Open everything. Pop all the switches, separating tops, bottoms, stems and springs into their tray sections. This goes fast in a rhythm.
- Bag-lube the springs. All of them, one shake, set aside to settle on a paper towel. Done with springs entirely before you touch a brush.
- Brush the stems. Load the brush, wipe off most of it, coat both rails thin, drop the stem in the “done” tray. Repeat in a steady rhythm — this is the long stage, and the rhythm is what makes it bearable.
- Lightly lube bottom housings (rails the stem contacts), if you’re doing the housing pass.
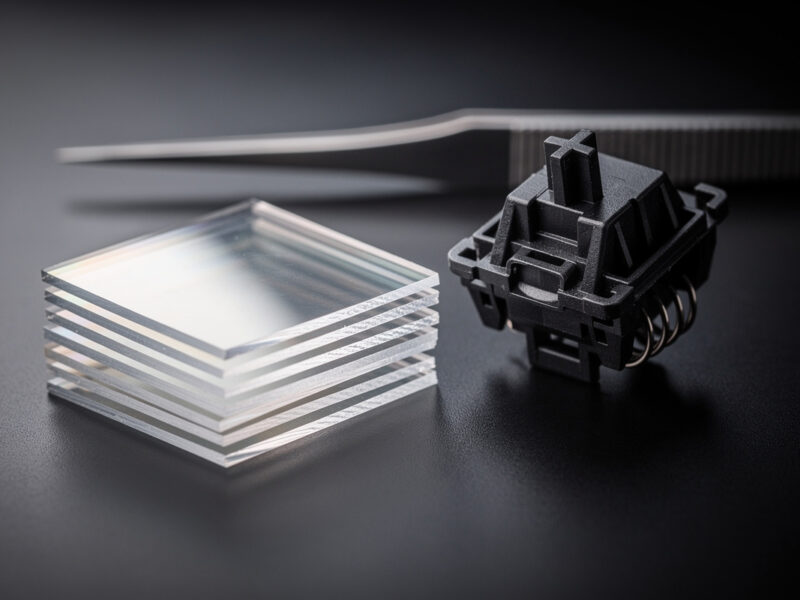
- Film and reassemble. Drop a film if the housing wants one, seat the stem, drop in the spring, snap the top on. Another rhythm stage.
Doing it this way, your hands stay in one mode at a time, you’re not constantly swapping tools, and you build muscle memory within each stage. It’s dramatically faster than the switch-by-switch approach, and far more consistent — which matters, because an uneven batch is a board that feels subtly wrong.
The realistic time budget
Let me give you the number the tutorials won’t. A full board — call it 70 to 90 switches — done properly with springs, your first time, is several hours. An evening. With experience and a dialed station, that comes down, but it never becomes quick, because the stem-brushing stage is inherently per-switch and there’s no shortcut that doesn’t show in the result.
That’s not a reason to avoid it; it’s a reason to plan it. Don’t start a full board at 11 p.m. expecting to type on it before bed. Set aside the evening, put something on in the background, and let the rhythm carry you. The people who hate lubing are usually the ones who started it expecting thirty minutes and hit the wall of reality around switch twenty.
Small habits that keep a session smooth
- Wipe the brush before every application. Load, wipe most off on the lid, then apply. This single habit prevents the number-one mistake of over-lubing.
- Work in good light. You’re judging a thin sheen on dark plastic. Bad light means inconsistent coats.
- Keep a “done” and “to-do” side. The trays should make it impossible to lose your place if you get interrupted.
- Don’t chase perfection on switch one. Consistency across the batch matters more than any single switch being flawless. Find your rhythm and hold it.
- Take a break at the halfway point. Fatigue is where over-lubing and dropped parts creep in. A five-minute stretch beats a sloppy second half.
Setting up the space so you don’t dread the next batch
A station isn’t just the tools — it’s the spot. The biggest reason people only lube one board ever is that tearing the station down and rebuilding it next time is its own friction. If you have the room, leave the station semi-assembled in a drawer or a small box that drops straight onto the desk, lubes and brushes together, opener and trays ready. The setup cost being near zero is what makes you willing to do it again, and again is where you actually get fast.
Lighting and seating matter more than they sound. You’re going to sit here for an evening judging thin films on dark plastic, so a desk lamp angled across the work and a chair you can stand a few hours in are not luxuries — they’re the difference between a clean batch and a sloppy second half. I keep the same lamp position every time so my eye calibrates to the same light when I’m assessing coat thickness.
One organizational habit pays off forever: label your lube containers clearly, especially once you own a thick linear grease, a thinner tactile lube, and a spring oil that can look identical at a glance. Grabbing the wrong viscosity mid-batch and not noticing until you’ve done thirty switches is a genuinely demoralizing way to learn this lesson. A piece of tape and a marker prevents it.
Some links below are affiliate links. As an Amazon Associate I earn from qualifying purchases — at no extra cost to you. I only point to gear that’s actually on my station.
The core station is cheap to assemble: a switch opener with stem holder is the foundation, a fine lube brush set handles application, and a sectioned parts organizer tray is the unglamorous piece that actually makes batch processing work. That’s the whole station — skip the marked-up “tuning kit” bundles.
Frequently Asked Questions
What do I need to set up a switch lube station?
A switch opener, a stem holder, two fine brushes (one for grease, one for oil), your lubes, a small zip bag for springs, sectioned trays to move parts through stages, and a desk mat to catch dropped parts. It is a small, cheap kit — the trays and the stem holder are the two pieces that actually transform the experience.
What is the fastest way to lube a lot of switches?
Batch by stage, not switch by switch. Open all the switches, bag-lube all the springs in one shake, then brush all the stems in a steady rhythm, then reassemble. Doing all of one step before the next keeps your hands in one mode, builds muscle memory, and is dramatically faster and more consistent than completing one switch at a time.
How long does it take to lube a full keyboard?
Several hours for a board of 70 to 90 switches your first time, dropping with experience but never becoming quick. The stem-brushing stage is inherently per-switch and there is no shortcut that does not show in the result. Plan an evening rather than expecting the thirty-minute figure some tutorials claim.
Do I need a stem holder to lube switches?
You do not strictly need one, but it is the single biggest quality-of-life upgrade on the station. Holding a stem upright lets you brush both rails cleanly instead of pinching a tiny part between your fingers, which is how lube ends up everywhere but the rails. It is cheap and it prevents the most common beginner mess.
How do I avoid using too much lube during a batch?
Wipe the brush before every single application — load it, wipe most off on the lid, then apply a thin sheen. Work in good light so you can judge the coat on dark plastic, and take a break at the halfway point, because fatigue is when over-lubing creeps in. Consistency across the batch matters more than any one switch being perfect.