This information is for educational purposes. Keyboard work involves small parts, soldering irons, and electronics — work in a ventilated space when soldering, unplug boards before opening them, and modding a board may void its warranty. When in doubt, check the manufacturer's documentation first.
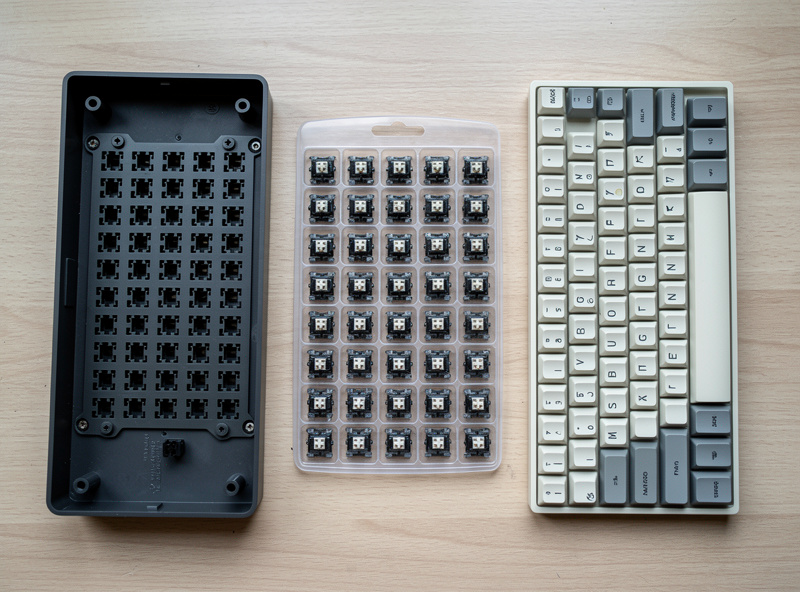
The best hotswap keyboard under $100 for a first build is a 65% or 75% barebones kit in the $60-90 range — it leaves you $10-40 for switches and caps inside a $130 total, and it’s the format I’d put in any beginner’s cart without a second thought. Hotswap means no soldering and no fear of killing a key.
I keep a Keychron V/Q-class hotswap board as my value reference precisely because it proves the point: you do not need to spend $200 to own a real custom keyboard. Below is how I’d shop the under-$100 tier, what the price actually buys at each step down, and the corners that are safe to cut versus the ones that bite you later.
What Does “Under $100” Actually Get You?
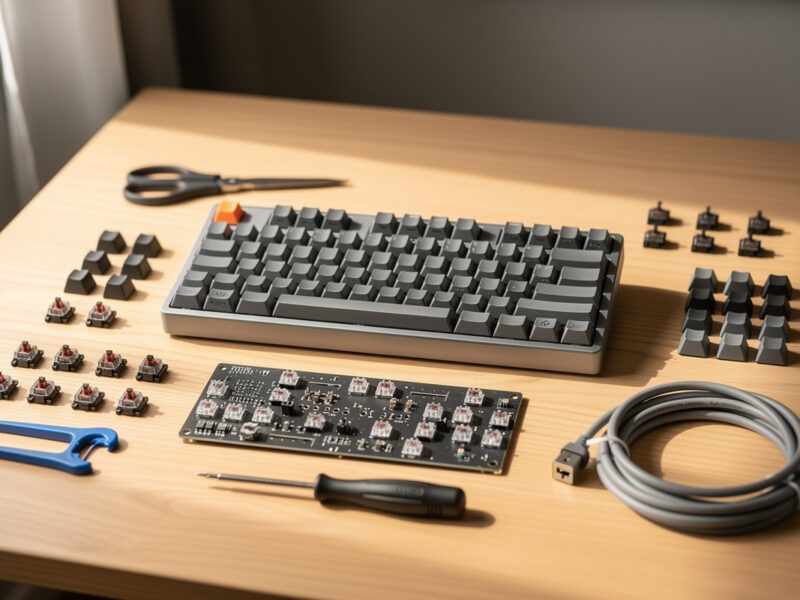
Under $100, you’re buying a hotswap barebones board — case, plate, PCB, and usually stock stabilizers — but not switches or caps. Expect to spend $60-90 on the board itself, which leaves enough in a $130 build for a 90-pack of switches and a basic PBT set. That is a complete, genuinely good keyboard.
The honest framing is that “under $100” describes the board, not the finished keyboard. A $70 barebones plus $30 in switches and caps lands you around $100-130 all-in, and that build will out-feel most sealed gaming boards twice its price once you’ve picked switches you actually like. What you don’t get at this tier is an aluminum case or a gasket mount — and for a first board, you don’t need either. You need sockets, a sane layout, and stabilizers that aren’t garbage.
Why Hotswap Is Non-Negotiable for a First Board
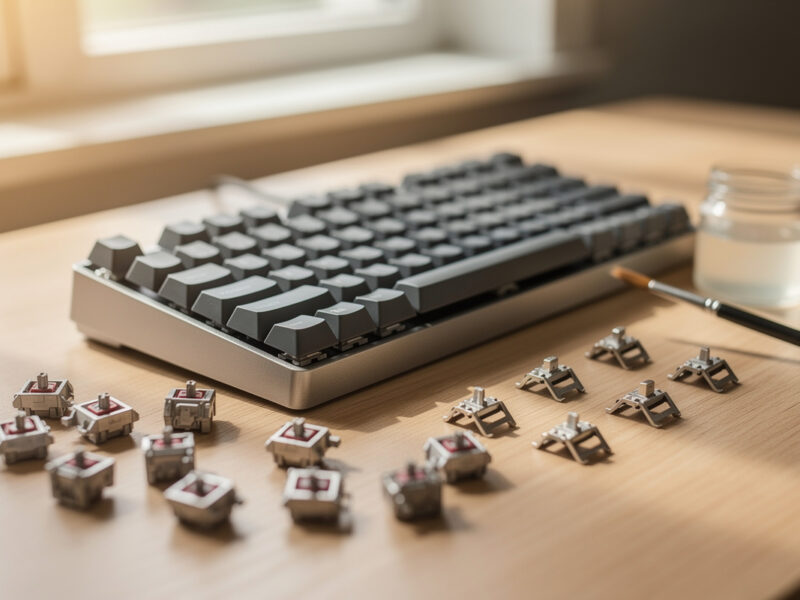
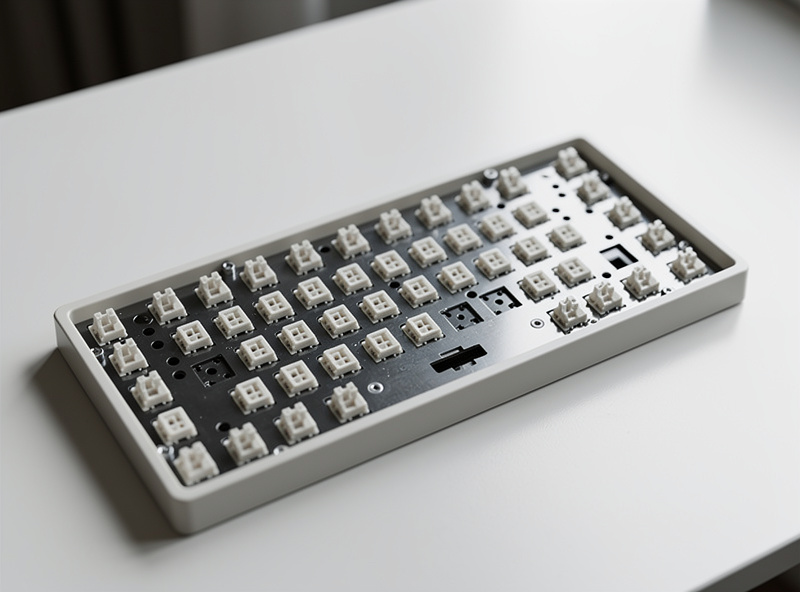
Hotswap sockets let you push switches in and pull them out by hand, with no iron and no flux. For a first board this removes the single biggest failure mode — a bad solder joint silently killing a key — and it means your switch choice is never final. That reversibility is worth more than any spec on the box.
I learned the cost of the alternative the slow way: when I desoldered a 60% to migrate it later, even with a temperature-controlled iron and a desoldering pump it was a careful two-hour job, and one slip lifts a pad for good. A first builder should never be near that risk. With hotswap, if a switch feels scratchy or you change your mind, you pull it and try another — that’s the entire reason the format exists, and it’s why every board I recommend at this price is hotswap.
What to Look For in an Under-$100 Hotswap Board
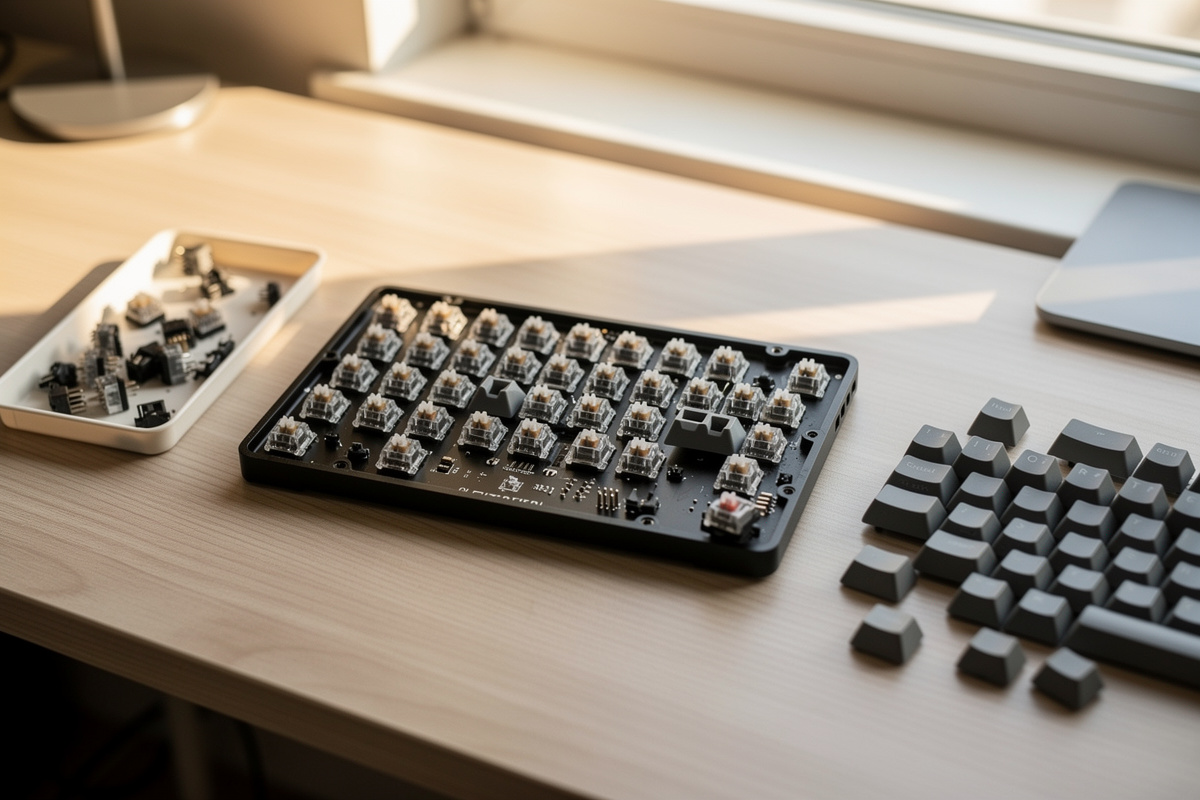
Prioritize four things: a hotswap PCB (obviously), a 65% or 75% layout, decent screw-in or at least usable stabilizers, and VIA/QMK support for remapping. Skip RGB-marketing boards that spent the budget on lights instead of the plate and stabs. A board with sane internals and ugly lighting beats a pretty one that rattles.
The stabilizers are the sleeper spec at this price. Cheap boards ship clip-in plate-mount stabs that rattle out of the box, and while you can tune them later, screw-in stabs are a meaningful quality jump if a board includes them under $100. I’ve torn down enough budget boards to know the rattle is almost always the stabs, not the switches — people blame the wrong part constantly, and my full stabilizer tuning guide walks through every fix. VIA support matters because remapping a compact layout is how you stop missing the keys a 65% relocates; the first week on a 65% is mostly muscle memory rerouting your hand to the function layer for delete and the arrows. Everything else — case material, weight, fancy mounting — is a nice-to-have you can chase on board number two once you know what you’re chasing.
Under-$100 Hotswap Board: What Each Price Tier Buys
Prices below are typical street ranges for barebones boards. The pattern is simple: the jump from $50 to $70 buys you stabilizers and a layout that won’t fight you; the jump from $70 to $90 buys nicer stabs, foam, and sometimes a metal plate.
| Price tier | What you get | Stabilizers | Good first board? |
|---|---|---|---|
| ~$50 | Plastic case, hotswap, basic layout | Clip-in, likely rattly | Workable, expect to tune |
| ~$70 | Better plastic, foam, 65/75% layout | Often screw-in | Yes — the sweet spot |
| ~$90 | Sturdier build, metal plate, foam | Screw-in, sometimes tuned | Yes — best feel under $100 |
| Sealed gaming board | Fixed switches, no sockets | Varies, can’t easily fix | No — not actually custom |
What I’d Pair With It on a $130 Budget
On a $130 all-in budget, I’d spend about $70 on the board, $30 on a 90-pack of switches, and $30 on a PBT Cherry-profile keycap set. That ratio puts the money where your fingers spend their day — the switches — and keeps the board from eating the whole budget. It’s the split I’d hand a first-timer verbatim.
If you can stretch the budget a little, add the spend to switches before anything else. A switch tester (a few dollars) is the cheapest insurance in the hobby if you’re unsure what feel you want, because returning a 90-pack you don’t like is a hassle and a switch tester for shopping in a store is impossible. Lube, films, a switch opener — all of that is second-build money. Your first board’s job is to teach you your own taste, and you can’t lube your way to an opinion you haven’t formed yet.
The Mistake That Wastes the Budget
The most common under-$100 mistake is buying a sealed “gaming mechanical” on sale and thinking it counts. It doesn’t — without hotswap sockets you can’t change switches, which is the entire point, and you’ve spent your budget on a dead end. The second mistake is over-indexing on RGB and weight while ignoring the stabilizers.
I made the order-of-operations error myself early on, buying tuning gear before I’d typed on a stock board, and it taught me nothing except that I’d guessed wrong about what I’d like. At this price, the move is unglamorous: a $70 hotswap board with screw-in stabs, $30 of switches you can return-shop with a tester, and a $30 PBT set. Boring, correct, and it leaves you with both a working keyboard and the budget to learn before you commit.

Frequently Asked Questions
What is the best hotswap keyboard under $100?
A 65% or 75% hotswap barebones kit in the $60-90 range is the best value. It leaves $10-40 for switches and caps inside a $130 total. Prioritize screw-in stabilizers and VIA support over RGB or case weight.
Can you really build a good keyboard for under $100?
Yes. A $70 hotswap barebones board, a $30 switch 90-pack, and a $30 PBT keycap set lands around $130 all-in and out-feels most sealed boards twice the price once you pick switches you like.
Are cheap hotswap boards reliable?
The sockets are reliable if you seat switches with straight pins. The weak spot on cheap boards is the stabilizers, which often rattle out of the box. A board with screw-in stabs under $100 is a meaningful upgrade.
Is a hotswap board worth it over a regular keyboard?
For anyone who wants to change switches, yes. Hotswap lets you swap switches by hand with no soldering, so your switch choice is never final. That reversibility is the core appeal of a custom keyboard.
What layout should I get for a first hotswap board?
A 65% or 75%. A 65% keeps arrow keys that a 60% drops, and a 75% adds a function row in a compact frame. Both are forgiving daily layouts that don’t force you to relearn typing.
As an Amazon Associate I earn from qualifying purchases.